


Pinterest has been the most ridiculously addictive website for me... it's like an ever-changing, ever-accessible inspiration board of ideas, wishes, plans and such. I dream of a completely customized home with an expansive porch complete with swing, his and her sinks in the master bathroom off the master retreat (which, of course, has an awe-inspiring walk-in closet), an open central stairway filled floor-to-ceiling with art and photos and memories, a cupboard to a secret room a la Narnia, and a rolling ladder reaching to the upper echelons of a private library... and so on and so on. Oh, to have all of the money in the world.
Anyway, this really did start as a food blog post! (I did say that Pinterest got my imagination soaring...) So, I have been enthralled with photo after photo of beautiful handmade gifts, and wrapping and packaging that are as beautiful as the gifts within. I bookmark or repin and plan to make something like these. Today was that day.
After zipping to Michael's, I returned with a sale score of $0.80 cookie cutters in the shape of a ghost and a pumpkin! Sugar cookies were on the brain... and now they were going to be Halloween themed.
I'm not a fan of the sickly sweet, overly iced sugar cookies. Maybe they aren't sophisticated enough in terms of their flavour or I'm just a snob (maybe a bit of both)... I wanted to make a more "grown up" sugar cookie (mostly anyway!). A bit less sugar and a bit more spice.

Ingredients:
Sugar Cookies
(Adapted from Anna Olson's Cardamom Sugar Cookies)
1 cup butter
3/4 cup sugar
1 egg
2 teaspoons vanilla
1/4 teaspoon cinnamon
1/4 teaspoon nutmeg
1/4 teaspoon all spice
1/8 teaspoon (or a pinch) cloves
1/2 teaspoon salt
2 cups flour
Icing
1 1/2 cup icing sugar
1 tablespoon corn syrup
1 tablespoon maple syrup
2 tablespoons milk
1/2 teaspoon maple extract
Sugar Cookies
Every good cookie needs a good base and that base is a really fluffy and creamy combination of butter and sugar. If I were more of a martyr, I might do this part by hand but I love the hummmm of my KitchenAid mixer whipping the butter and cream into a frenzy.

To this creamed butter, add in your vanilla and egg. Again, whip whip whip.

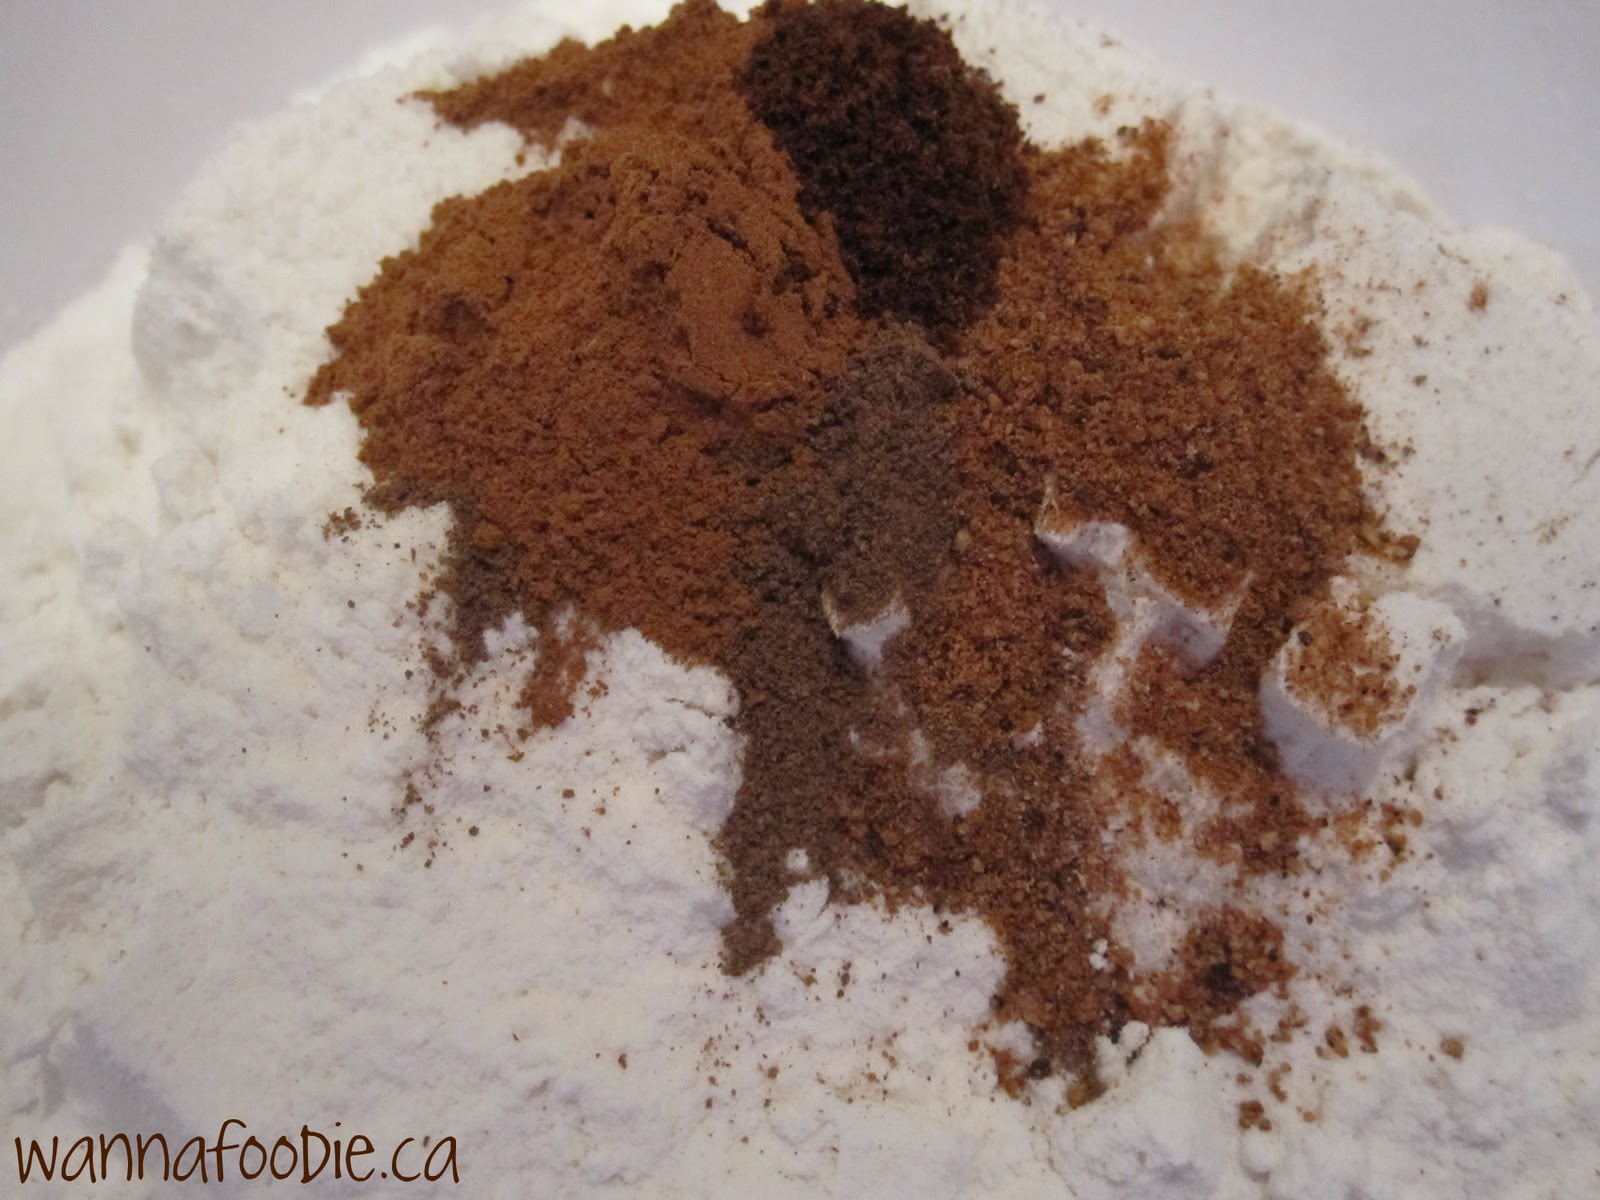
In a separate bowl, combine your flour and spices. Combining your dry ingredients separately will help you to avoid pockets of flour or cinnamon or -gasp- a pocket of salt in your cookie. All of your flavours will be evenly distributed through your batter and, therefore, your final cookie product.
Add your seasoned flour by the spoonful into your wet batter. Combine everything with as few strokes as possible. While this is obviously going to take more than 5 good folds, you want to avoid 123084713 strokes which will create a tough cookie as you have developed the gluten in the flour.
Shape the dough into two discs, wrap them in plastic, then set them in the fridge to chill and set. You can leave them an hour or two or even overnight. The goal of this stage is to allow the dough to rest and firm up so that it is easy to work with as you roll and cut cookies.


When you're ready to get to the cookie cutting, lightly flour your work surface then roll out your dough. I rolled the dough to 1/4 inch thickness for a tender cookie that won't fall to pieces in your hands. If you prefer a crisper cookie, then you can roll it thinner or a more cake-like cookie, then opt for thicker. Cut your cookies using whatever cutters or glasses that you would like. You can even just slice the cookies into squares with a knife. Who is going to tell you that is wrong!? I managed to cut 30 cookies from my dough. You want to avoid re-rolling as much as possible or be very gentle with the dough if you do re-roll (again, you don't want to develop the gluten in the flour). I re-rolled the dough and those cookies were just as good as the others.


Heat your oven to 325 F. Bake your cookies for ~13 minutes on a parchment lined cookie sheet. The cookies will only colour slightly at this time/temperature, so don't expect a brown cookie. Leave the cookies to cool slightly on the tray before transferring them to a wire rack. This will allow them to crisp up a bit more without colouring. (I'm a fan of the pale cookie contrasting against the bright frosting.)
Leave the cookies to cool (overnight or for a few hours). It is a cardinal sin to ice a warm cookie like these, as the icing will just melt and drip. If the cookies are cool, you're better set up for success in your icing.
Icing
Mix together your icing sugar, syrups, milk and extract. I love the beautiful caramel colour of this frosting. It'd be great just as is but I was going full steam with this Halloween theme and wanted colour!

Portion out the icing based on your colour plan, then tint accordingly. Since the icing isn't white, I went with a pale green for the ghosts, orange for the pumpkin and -lacking black- went for a dark purply-blue for the detail. The key here was improvising. I hate an activity that requires an investment in supplies that I will seldom use. You can decorate these cookies without buying a thing.


Use a knife or spatula to spread the icing base. This icing is great as it will level itself out and won't show any knife marks. Let this base set for 30 minutes or so before adding the detail.
For the dark detail colour, set a plastic bag into a cup and flip the top down over the sides of the glass. Spoon your icing into the bag, then seal it, twist the top and use a twist tie (or bread bag tie) to secure the bag. No icing bags or tips needed here! Put the bagged icing into the fridge to let it firm up a bit. Once cool, snip the tiniest little edge off of the corner of the bag.


Now give faces and detail to your cookies! Because the base layer of icing has set, you can clean up any errors with a toothpick.


Let everything set (for a few hours at least and the icing will dry, beautiful and shiny) and look -with pride- at your beautiful work!


These crepe paper pumpkins were awesome!
A great DIY package courtesy of Martha Stewart.
Orange tissue + green floral tape = AWESOME!


1 thought(s):
those look great! from another pinterest addict!
Post a Comment